Infographic
The resin print workflow
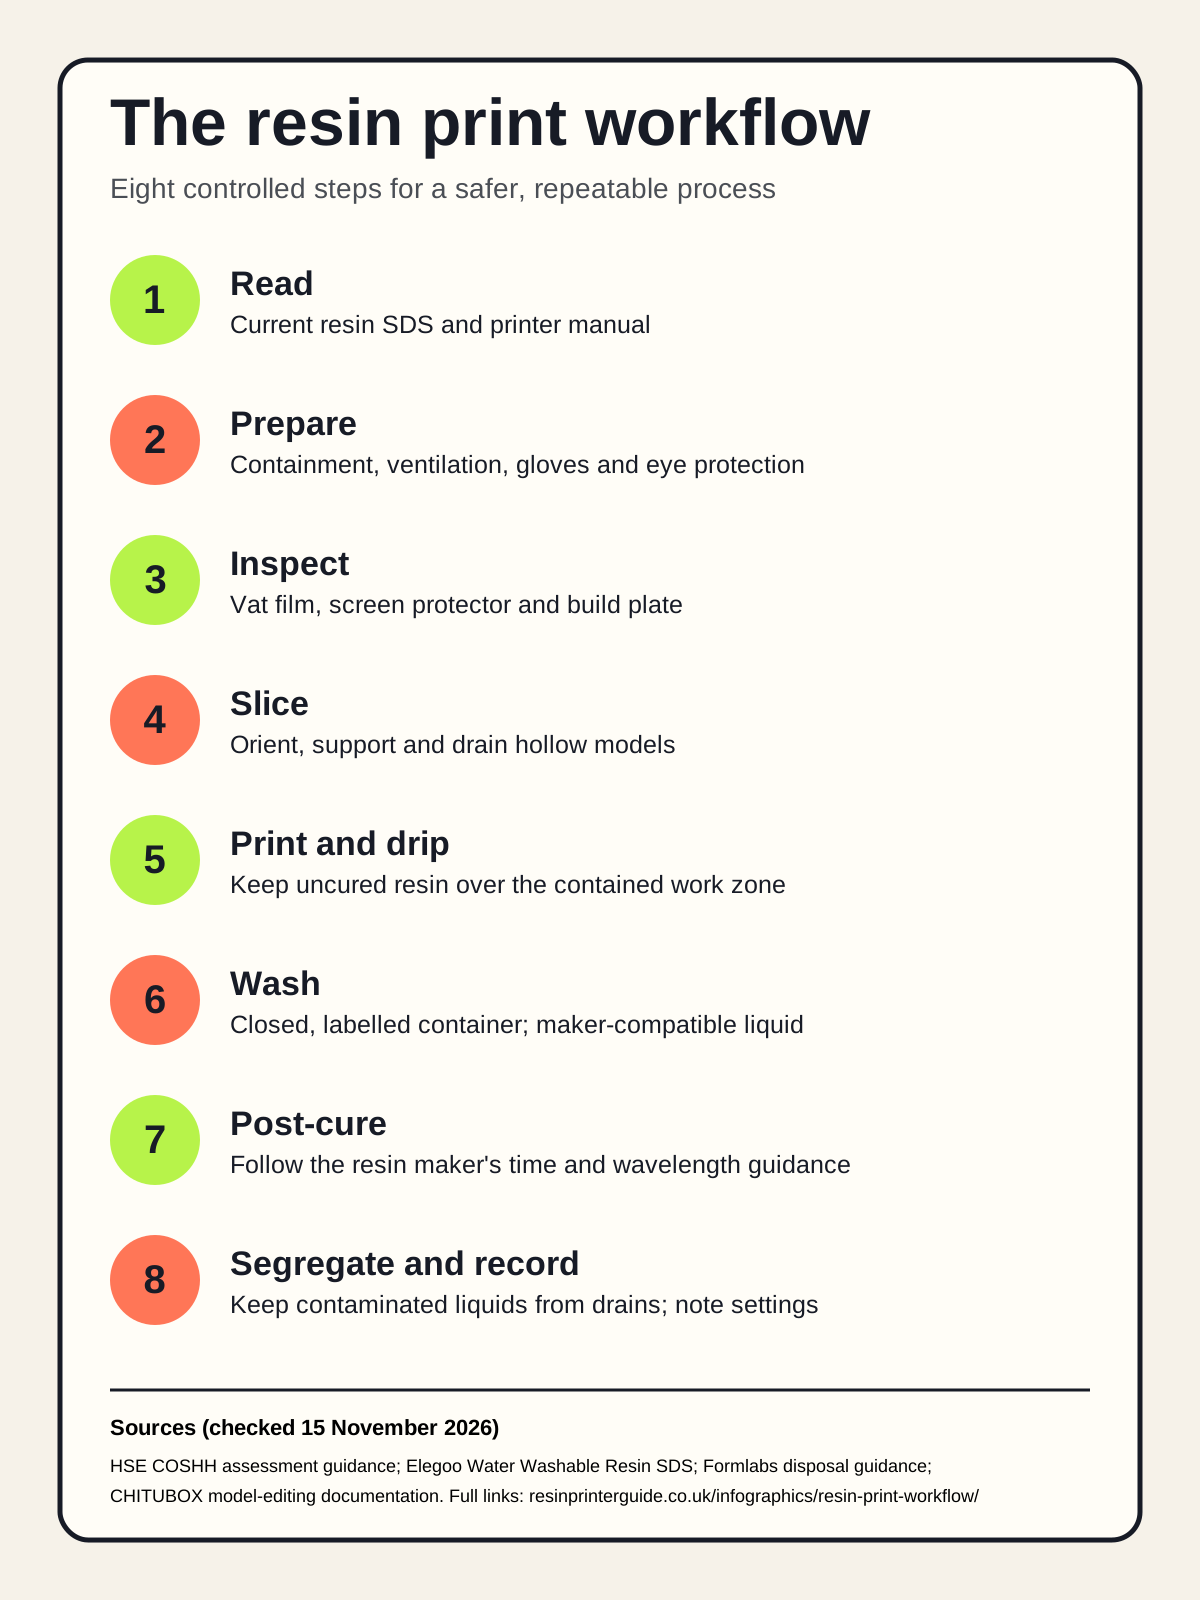
The safest useful workflow is a loop: plan, print, contain, wash, cure and record what changes.
Plain-text version
- Read the current resin SDS and printer manual.
- Prepare containment, ventilation, nitrile gloves and eye protection.
- Inspect the vat film and build plate.
- Slice, orient and support the model; add drain holes to hollow parts.
- Print and let the model drip above the vat.
- Wash in a closed, labelled container using the resin maker's compatible liquid.
- Remove supports safely and post-cure to the maker's guidance.
- Segregate contaminated liquid and solids; record settings and failures.
Embed this infographic
<a href="https://resinprinterguide.co.uk/infographics/resin-print-workflow/"><img src="https://resinprinterguide.co.uk/assets/images/resin-print-workflow-infographic.svg" alt="Eight-step resin print workflow"></a><p>Infographic by <a href="https://resinprinterguide.co.uk/">Resin Printer Guide</a></p>